Start your digital transformation experiences with 4 (four) simple steps.
In this article, we would like to share with you how KlickFlow could help in your digital transformation journey or help in transforming your requirements into working application in 4 (four) simple steps. Below illustration depicts the steps needed.
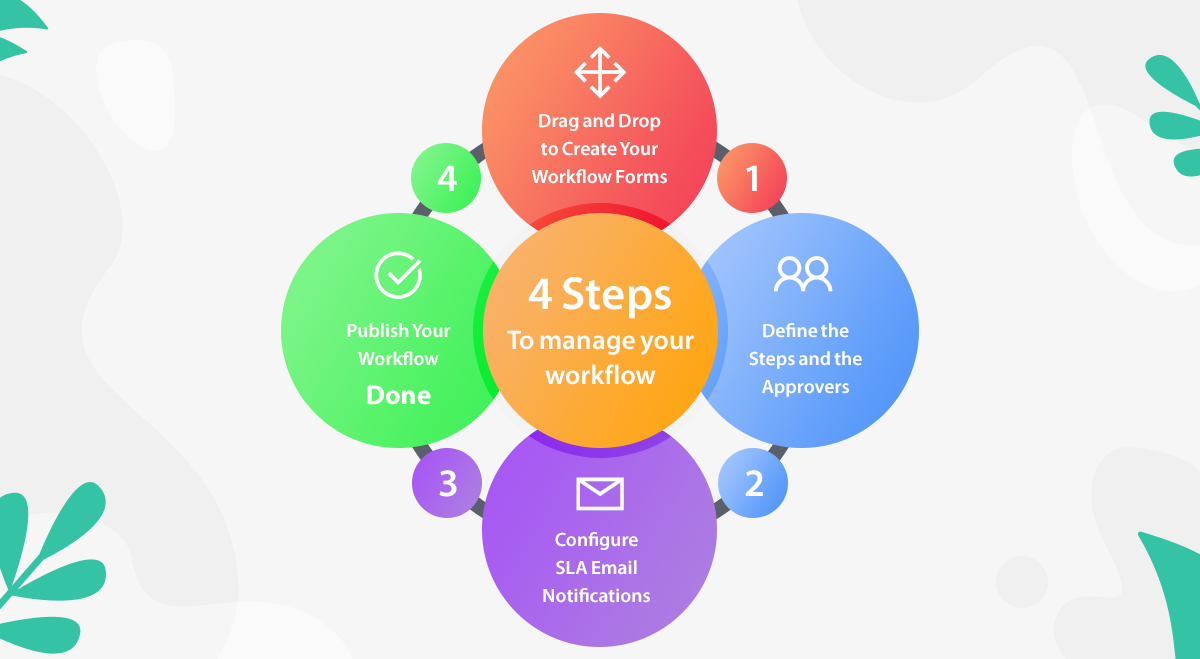
1. Drag and drop your forms.
Design and create your forms (table builders, e-Signature and any other UI elements) using our drag-and-drop features without the needs of any technical skills.
2. Define your workflow steps and its approvers
Then, once you have the forms ready, decide who should approve on this requests. You can have as many steps as you wish and you can also define the workflow conditions to handle the conditions based on certain factors. And, for each approval step, you can display / hide each layout component within your forms. You have all full controls over your forms.
3. Tune up your workflow (SLA, Email Notification & API)
Great, one more step to go. In this step, you can further tune up your workflow. You can define the SLA for your workflows (for monitoring), customize the emails notifications for this requests and etc.
4. Done - let's publish
All set to go. Publish your workflow and it's ready to be initiated by your users from the requests dashboards.
Then, how about when you have any changes? Well, when you have any changes, repeat step 1 - 4 again and re-publish with the new version and that's all. The new version will be available for your usres from the request dashboards.
Or, what should you do when you have a new requirements (forms)? Similarly, create a new workflow, repeat step 1 - 4 then publish it. Be sure that you define a different and self-explanatory naming for that though as not to confuse your users